Introduction
Now more than ever, companies are encouraging their users to use the MFA functionality as it adds an additional layer of security and prevents threats like phishing.
A Multi-Factor Authentication means that you must have two factors to prove your identity. The first is your Username and Password, and the second is an additional verification method such as an authentication token. It prevents ill-intentioned people from accessing your account, even when your password has been compromised.
It is already available for a large quantity of Salesforce Products such as SalesCloud, Service Cloud, Commerce Cloud, Health Cloud, Pardot, and others.
In this article, we will be focusing on Multi-Factor Authentication for Marketing Cloud, which provides three different types of verification methods that you can use.
But before we get started, there is something important you need to know…
This feature will be mandatory to use by February 2022. This means all users created before the August 2020 release must have at least one verification method implemented to their user account. But don't panic, we got you covered! We will explain everything you need to know below. 🧐
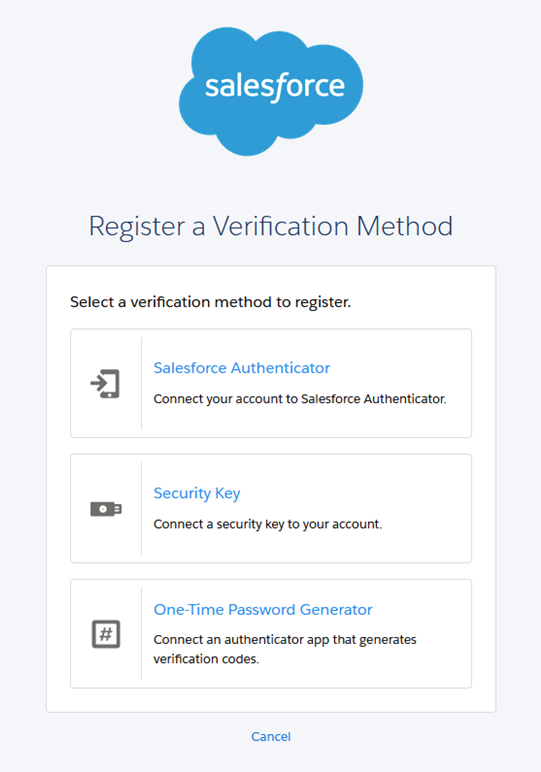
In Salesforce Marketing Cloud there are three different options to enable MFA:
- Salesforce Authenticator mobile app
- Security keys
- Third-party authenticator

Note: Only the Salesforce Marketing Cloud Admin can enable Multi-Factor Authentication for existing users. For all new users, the platform will automatically walk with them trhough the set-up process when they make their first login.
If you are an Admin who wants to activate this feature for pre-existing users you can do so by selecting Setup/Users/(Click on the Users Name) and scroll down to Multi-Factor Authentication.
l.png)
Salesforce Authenticator Mobile APP
- Download the Salesforce Authenticator Mobile App. It's free and available in AppStore or Google Play.
- Open the app and tap Add an Account.
- The app will show you a unique two-word phrase, which you will be required to enter into Salesforce Marketing Cloud.
- The App will then ask you to verify the connection.
Ta-da! Easy as it seems! 👌
A handy feature of the Salesforce Authenticator App is Einstein Automation.
Einstein Automation works when location services are enabled on the Salesforce Authenticator App. Those locations that you trust three or more times on the app, are automatically marked as trusted for future logins!
You can have as many trusted locations as you need.
gfhf.png)
Security Key
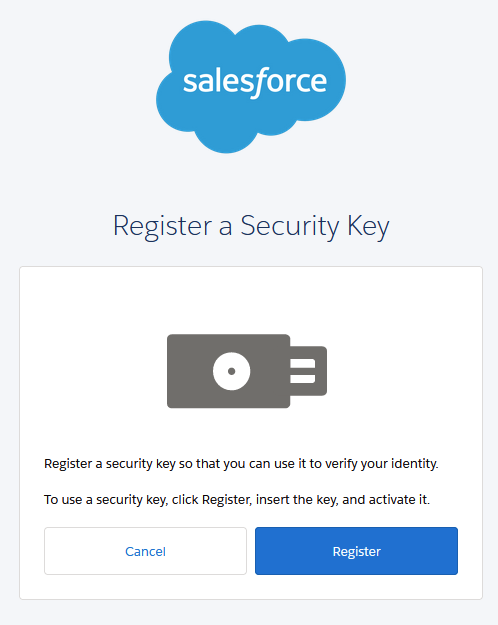
If you are not familiar with security keys, they are physical devices similar to a USB that you can use as an electronic key to verify your identity.
Important: The security key that you choose needs to support WebAuthn or U2F, such as Yubico’s YubiKey and Google’s Titan Security Key.
- Click Register.
- Plug your Security Key to your device.
- Put a name to your Security Key.
- Save! 🎉

Third-Party Authenticator Apps
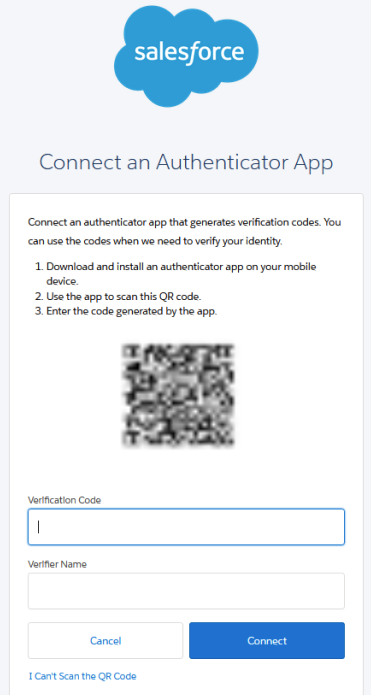
These apps link your Salesforce User Login through a QR code to generate a token number every 30 seconds. Salesforce Marketing Cloud will ask you for this code every time you login.
- You can download free apps like Google Authenticator or Microsoft Authenticator for your mobile device.
- Open your chosen App and tap on either "Create an Account" or "Scan QR code".
- Scan the QR code that Salesforce will display.
And that's it! Your account will be linked.

But, what if the User loses their device?
- In the event that a user loses their device the SFMC Admin can generate a temporary verification code. This code will be effective for 24 hours only and can be used multiple times within the permitted time frame.
Don’t forget that Salesforce recommends using more than one method to ensure users can access their accounts if they lose their device!
How can I check the events or logins of a specific user?
- The Admin also can check the MFA Events. (Users/Click Users Name/View MFA Events). This will provide you with a security log.
Talk with your users about the benefits of Multi-Factor Authentication and the range of options that they can have for their account. (Or show them this useful article 😉 and work with them to enable this feature!)


